Gaming Stuff
BLOG 1) Terrain Tutorial
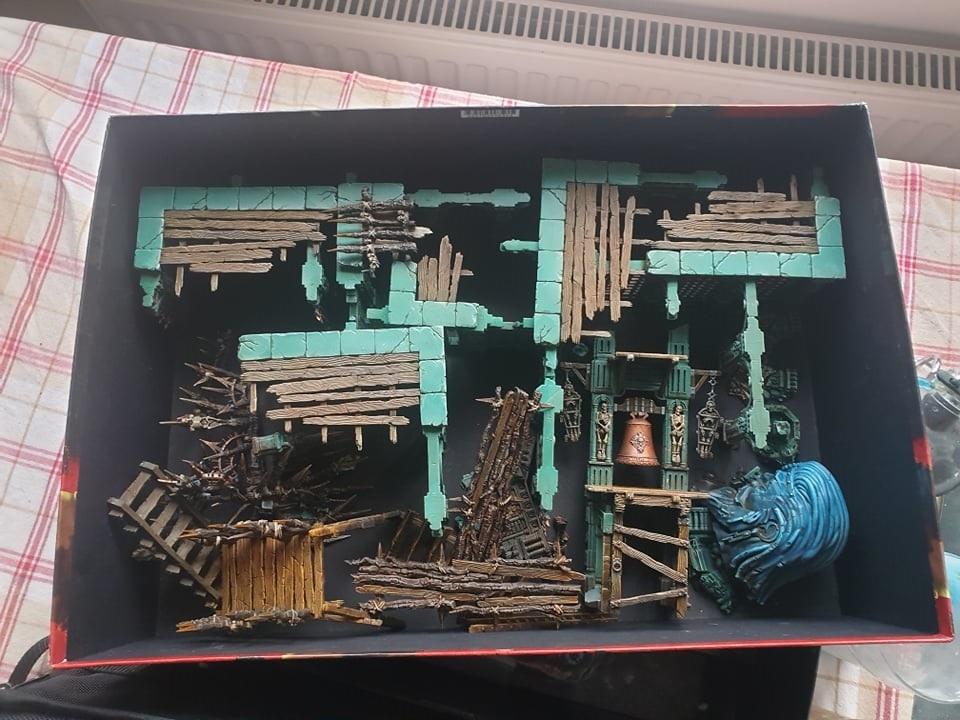
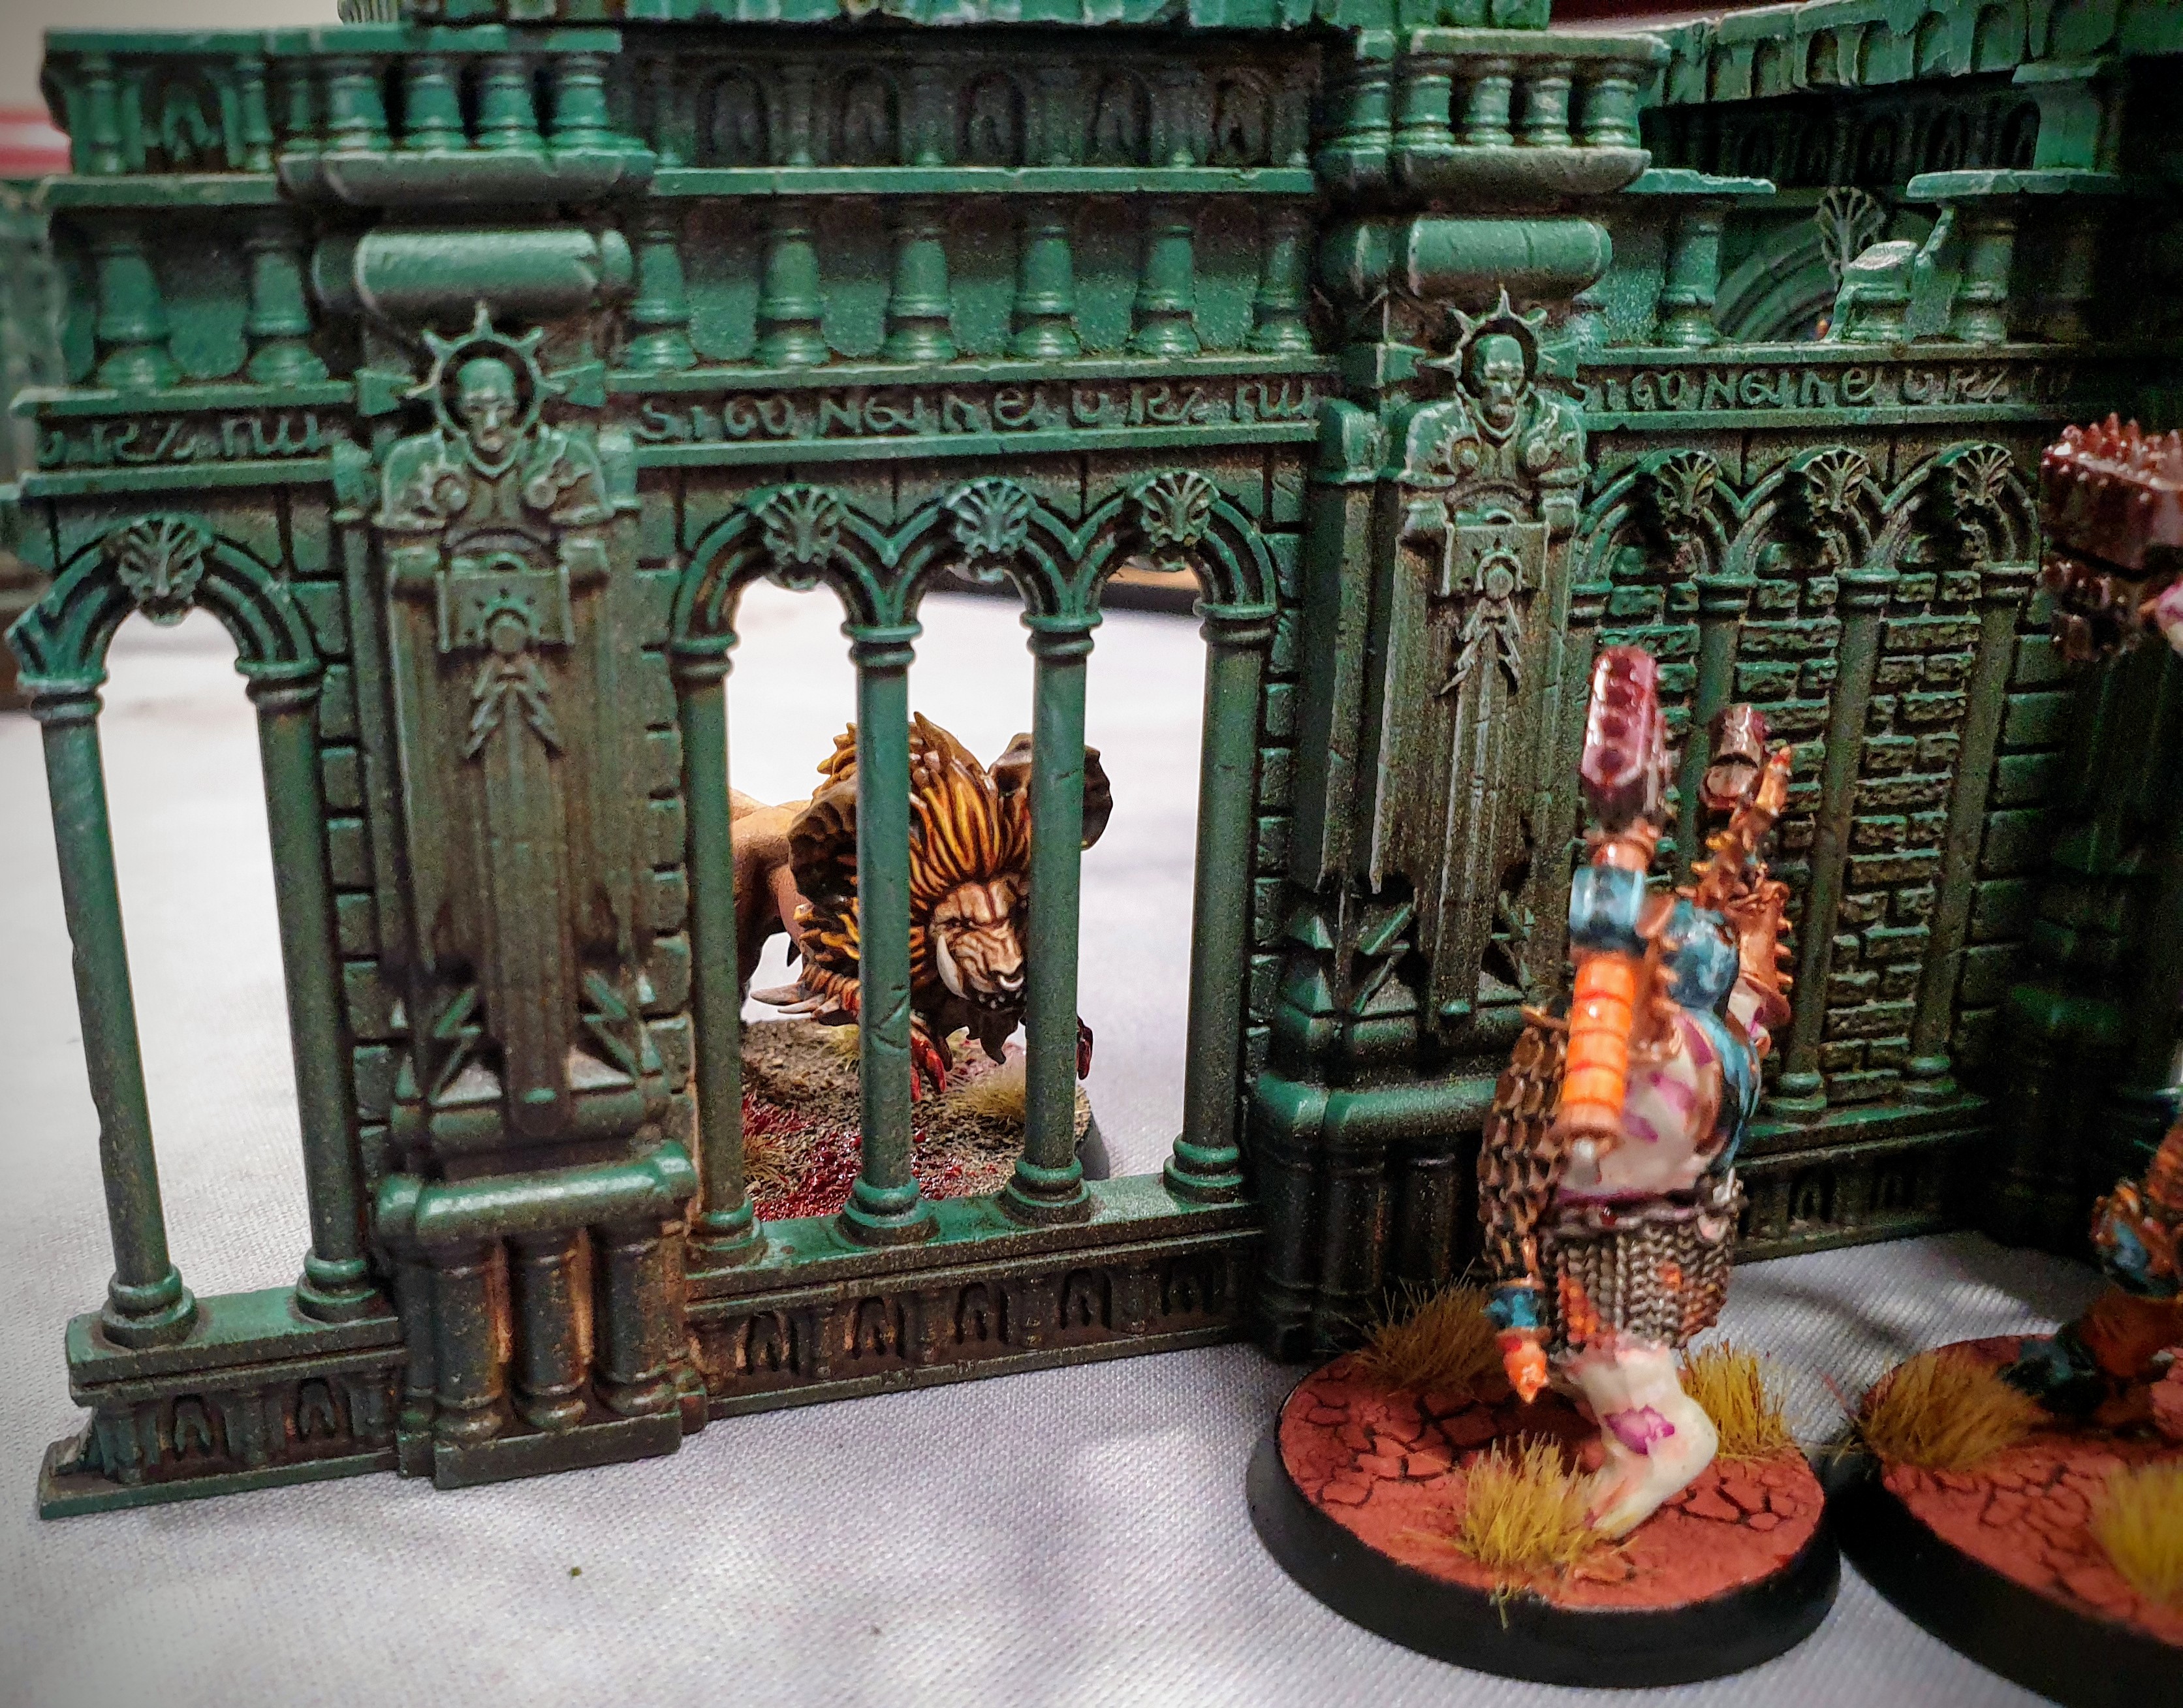
Warcry is a game centered around its terrain and the scenery set in the box is a beautiful kit… However, it's also pretty intimidating to paint!
I'm not a huge fan of terrain making usually, but for this I was determined to make the effort and find a way to make it look good without spending days and days in it. I also wanted to use it as an opportunity to try out some new painting techniques I'd seen online. Terrain is perfect for testing ideas before you commit to painting precious, precious minis!
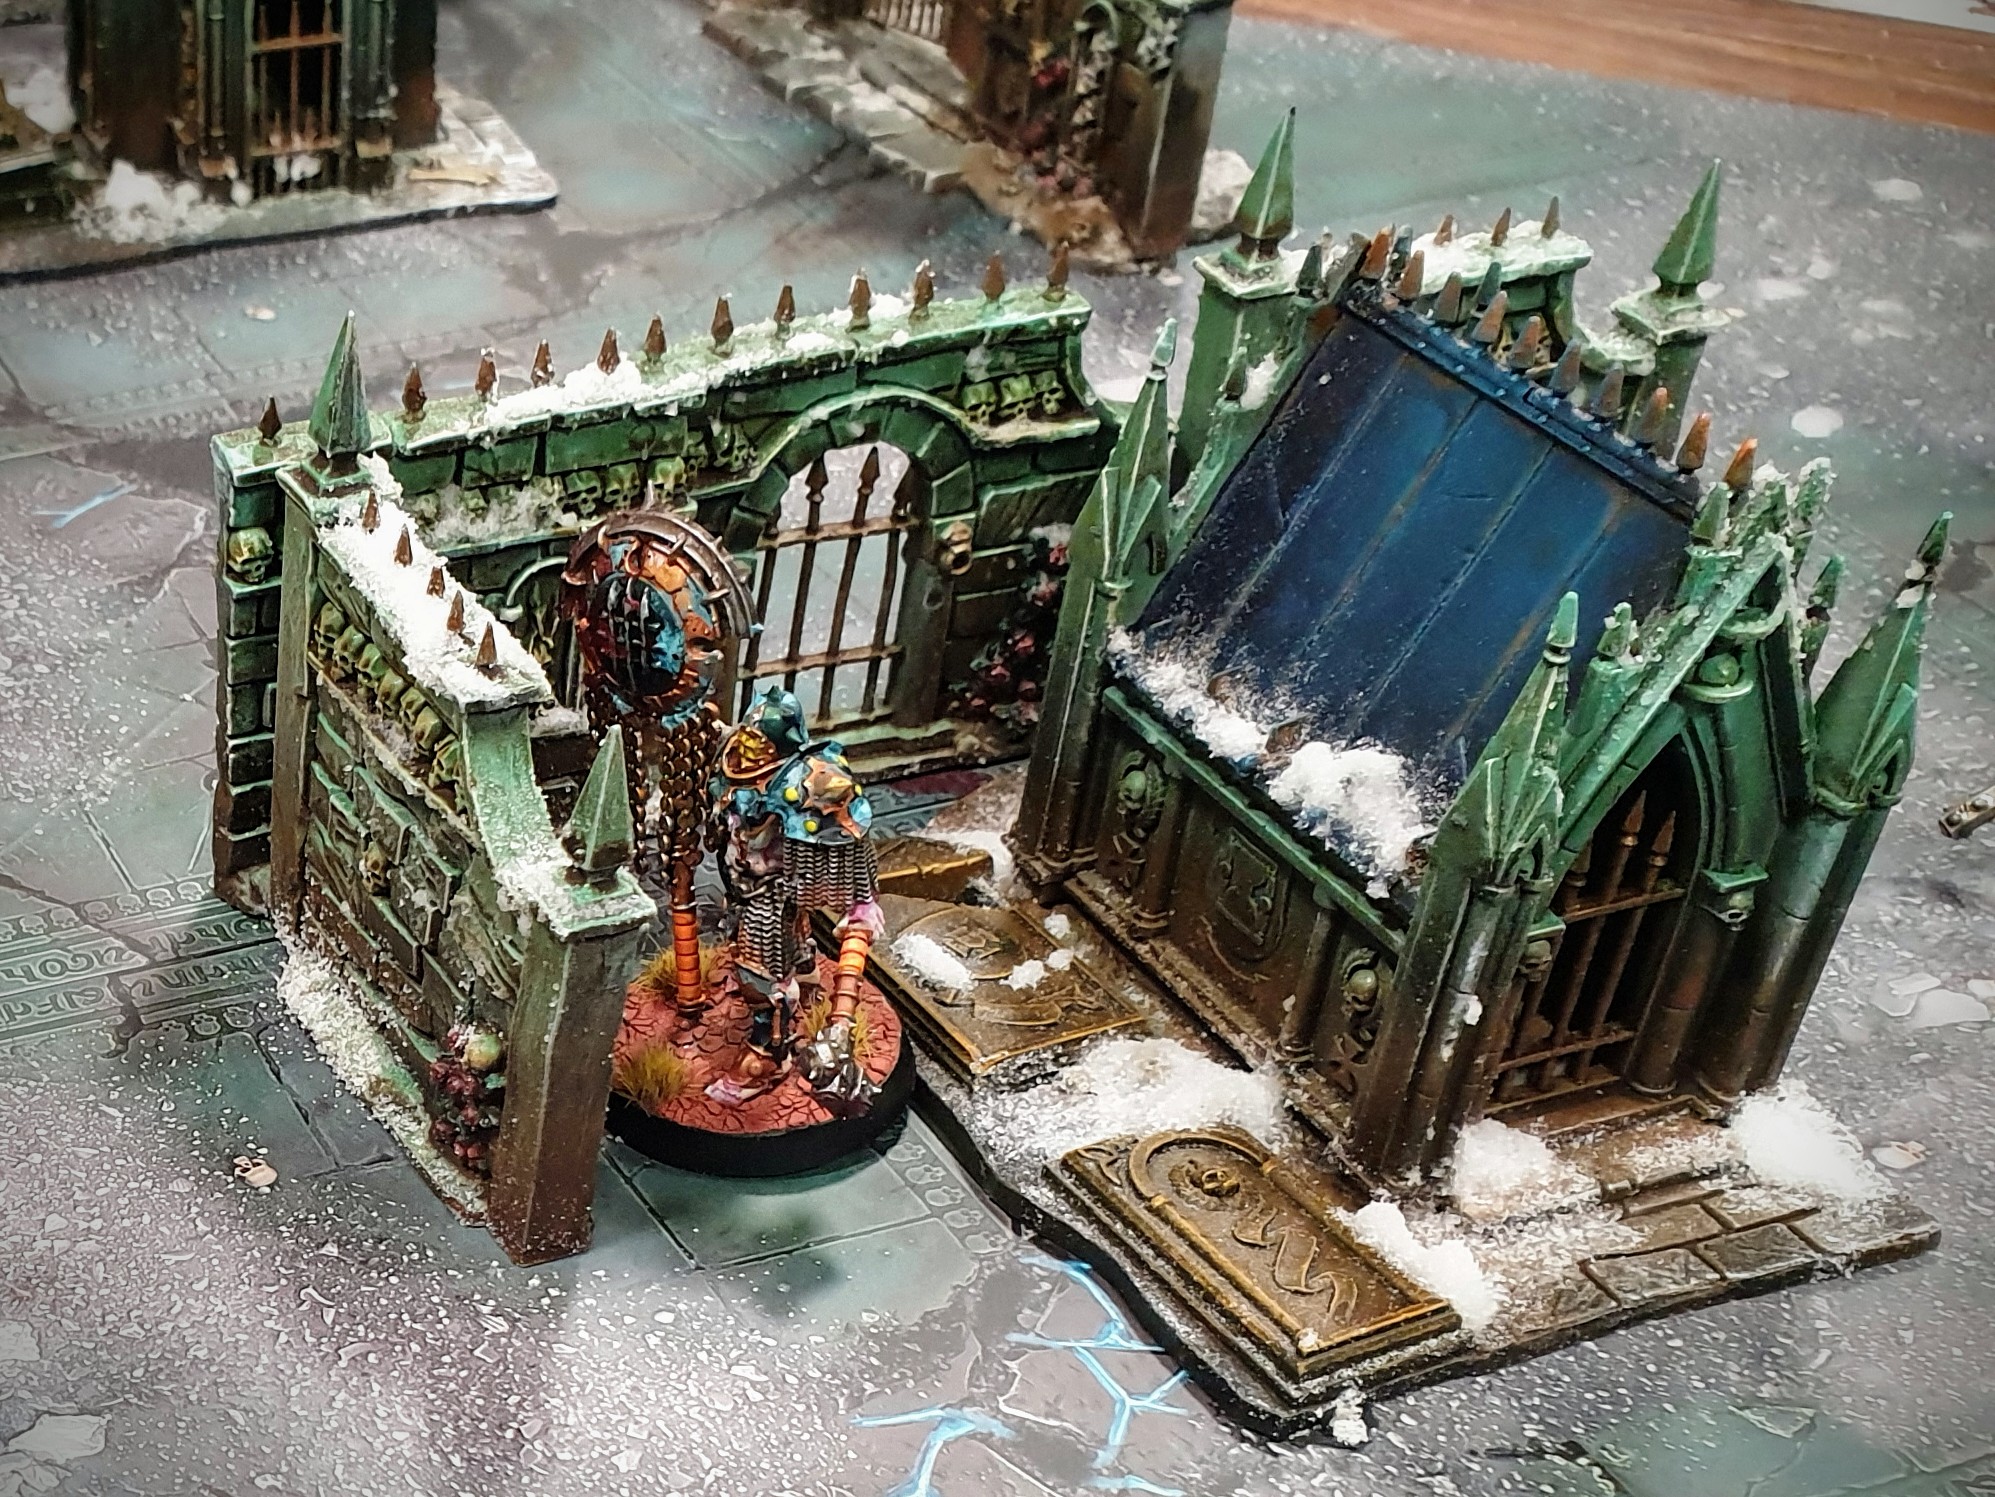
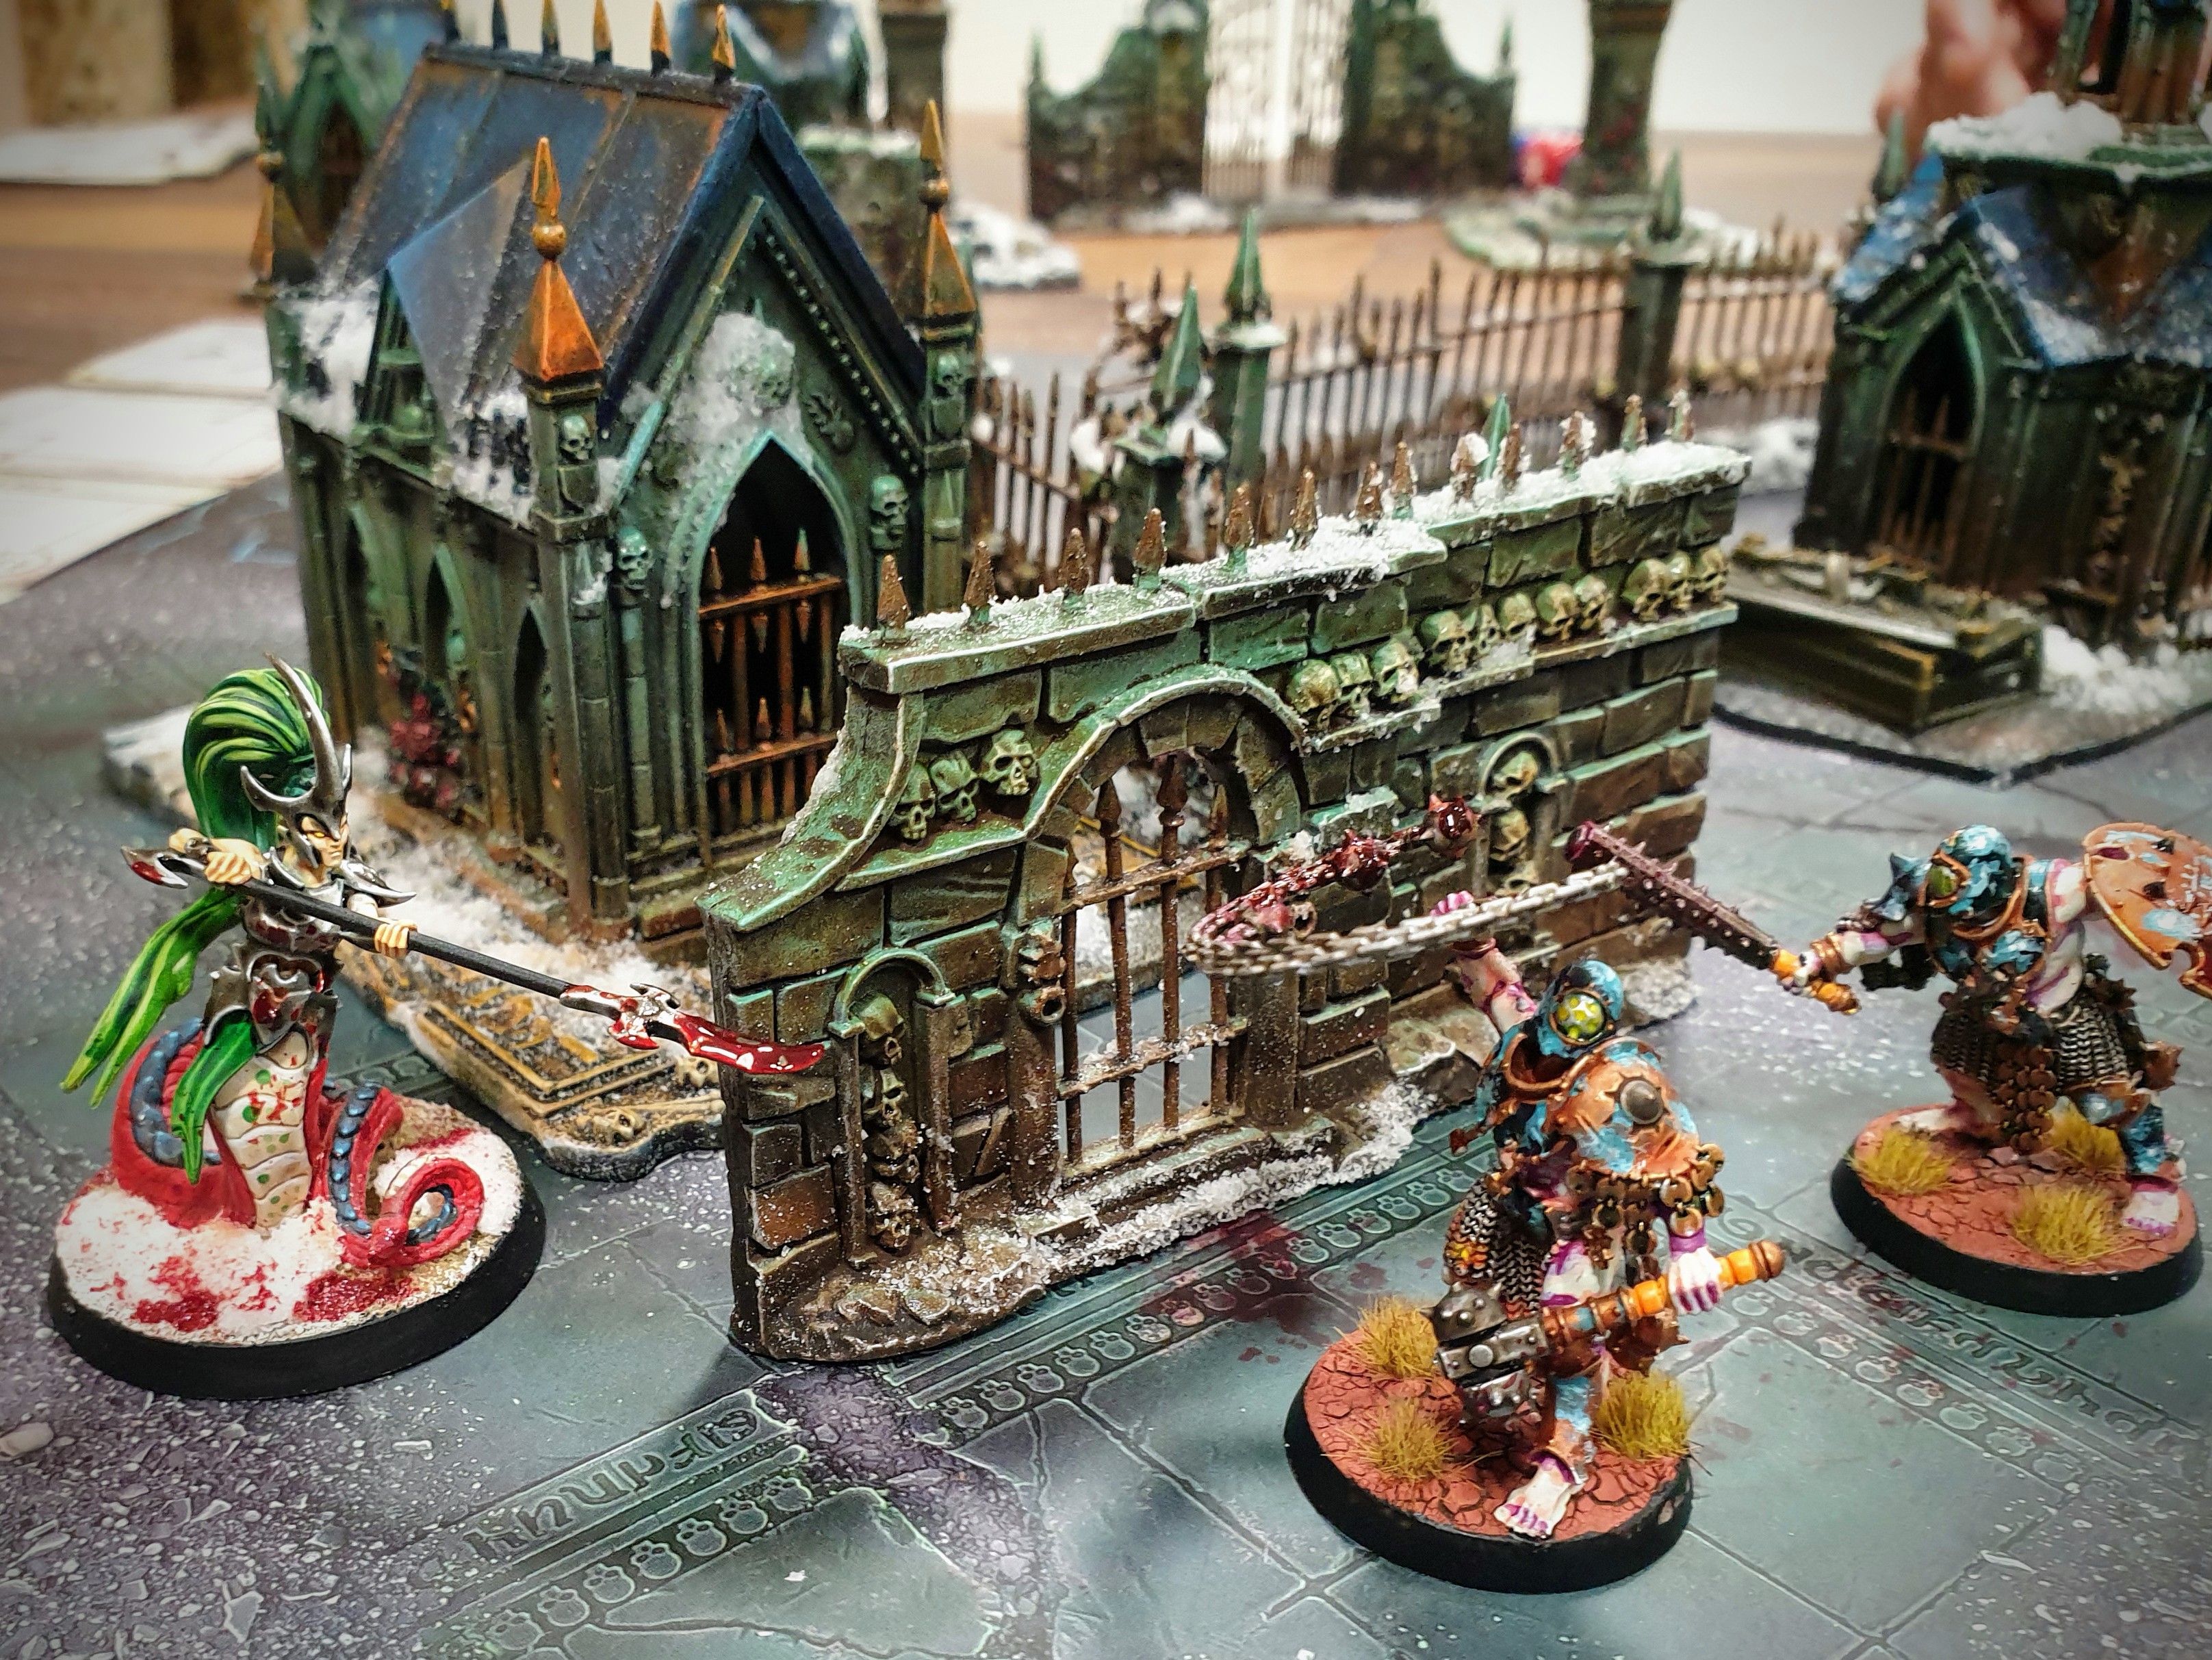
For this set I knew I wanted to use a classic complimentary colour scheme and have a gradient to break up the large surfaces. I chose a green oxide tone, matched with a reddish brown undertone. This would be accented with blue and brass Metallics, plus some wood and details.
To achieve my look in a timely fashion, I was going to rely heavily on the trifecta of quality speed painting : airbrush, contrast paint and oil wash.
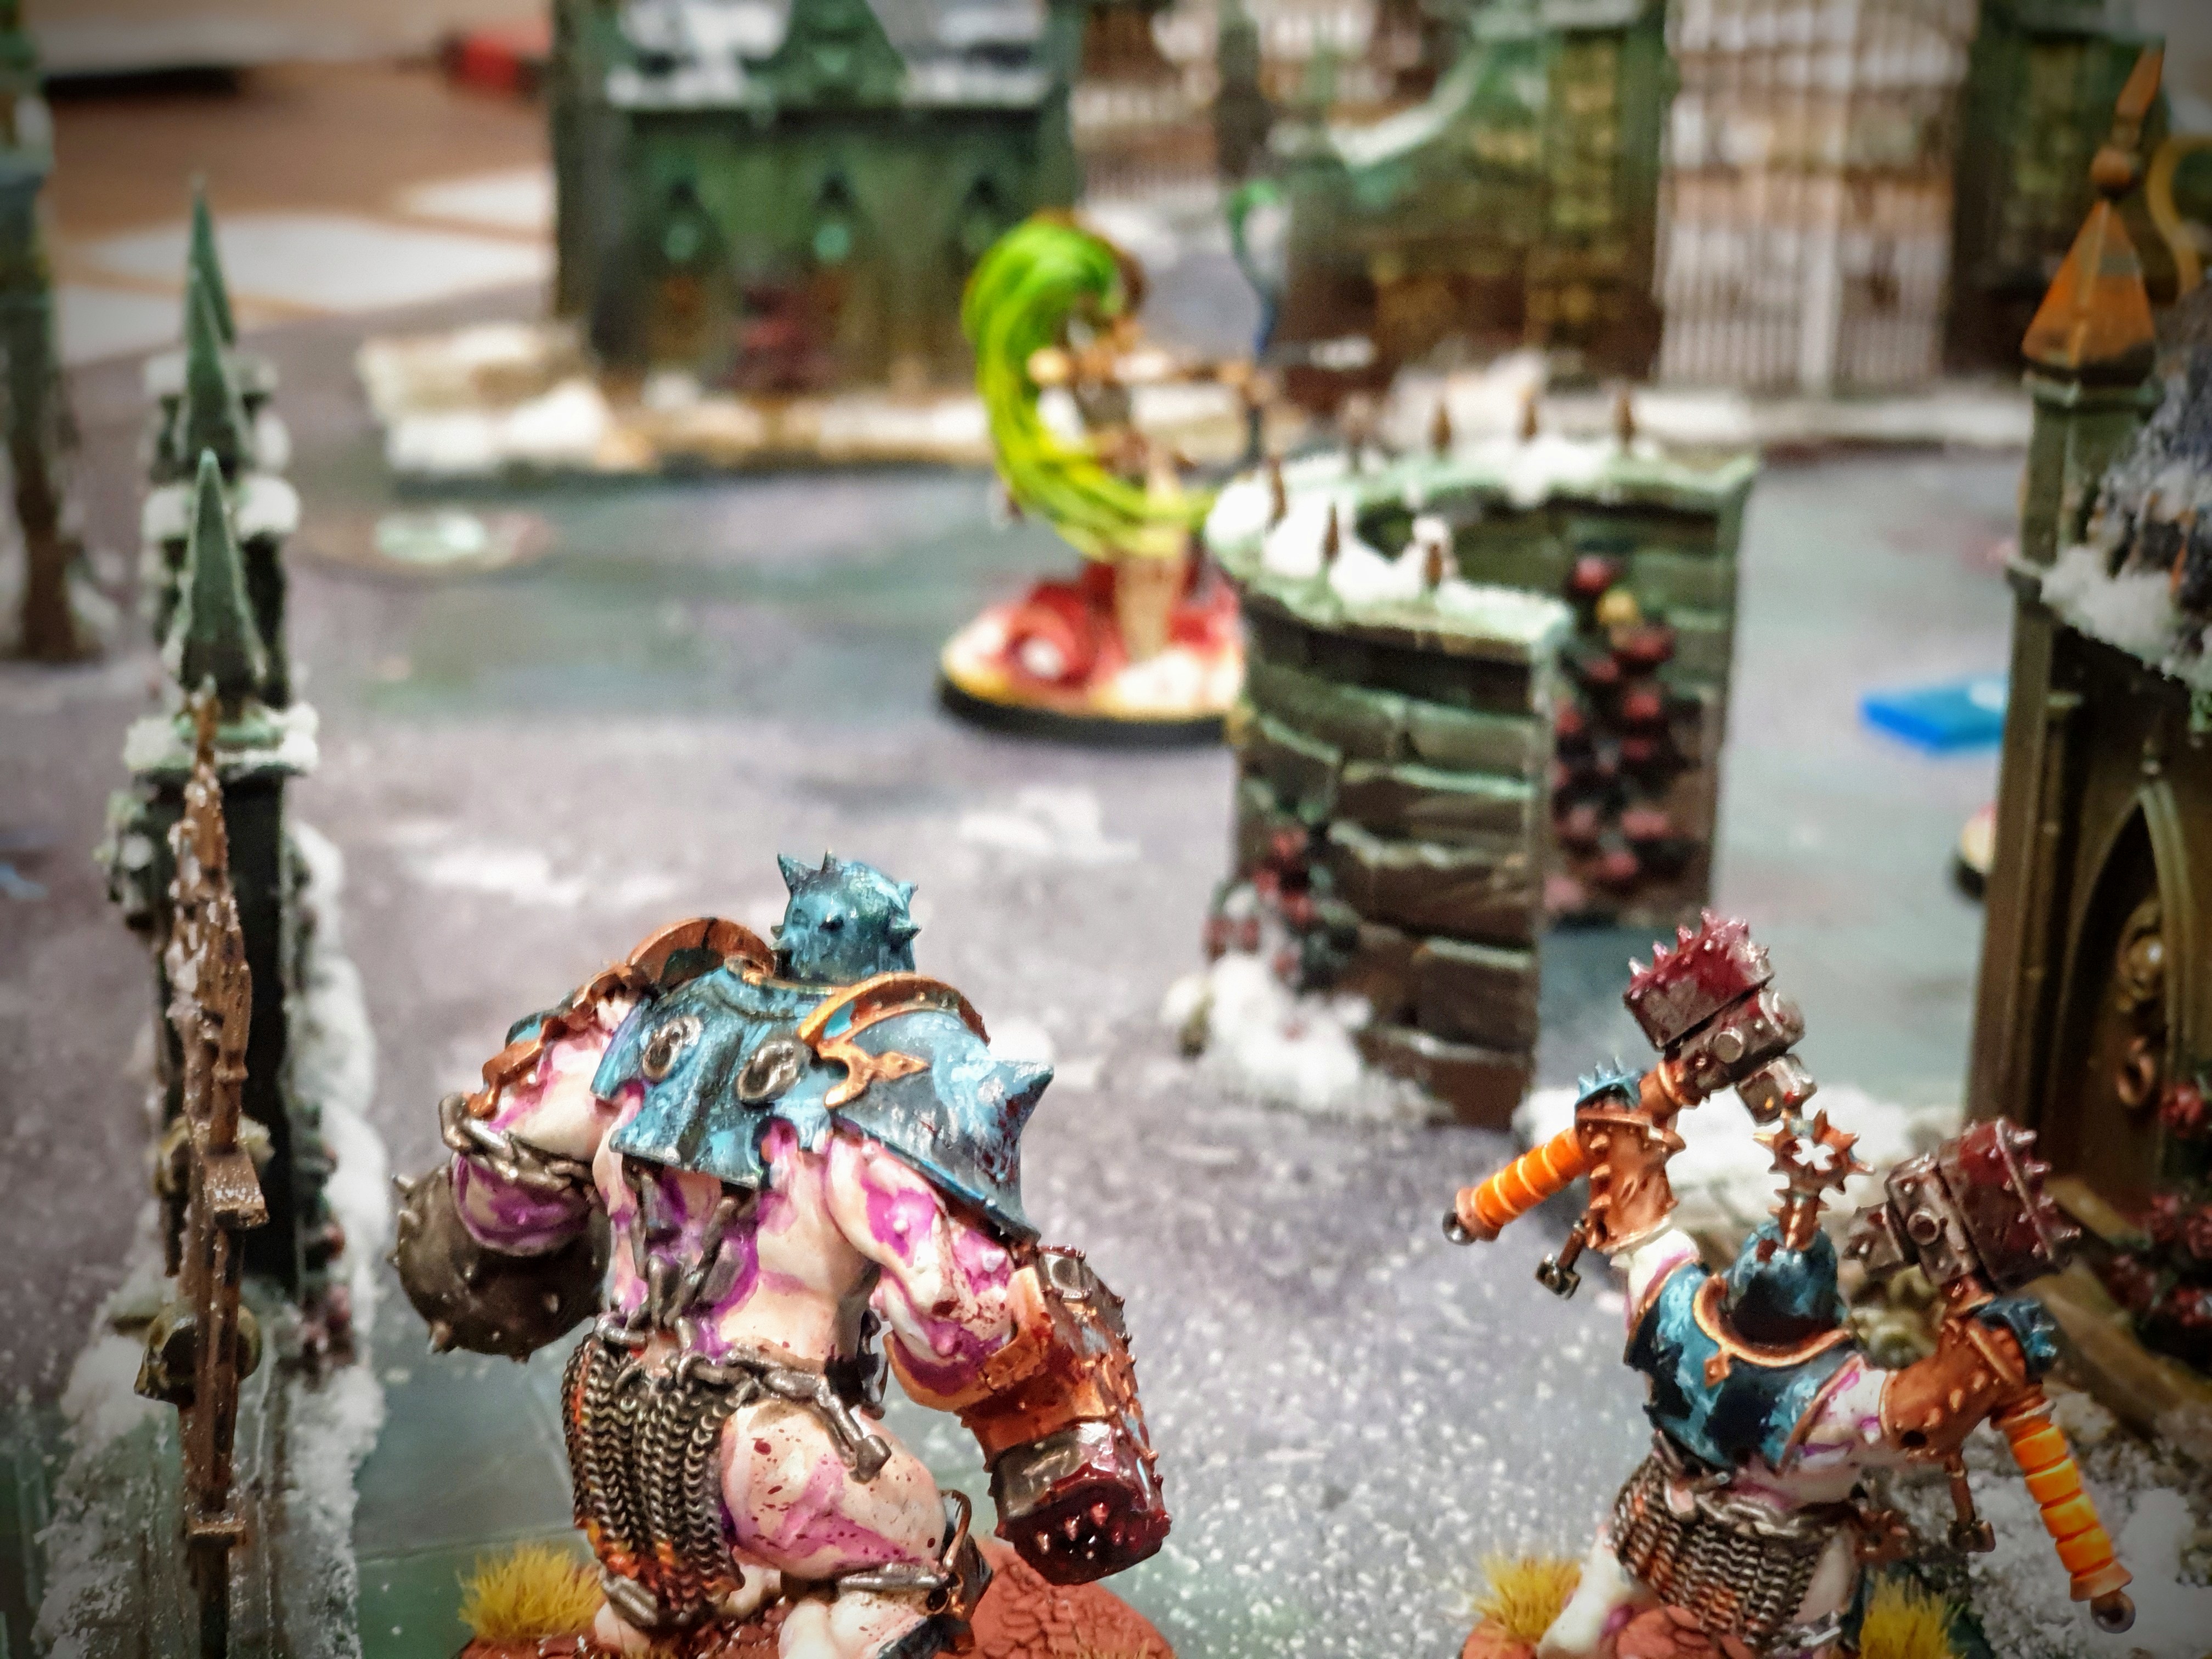
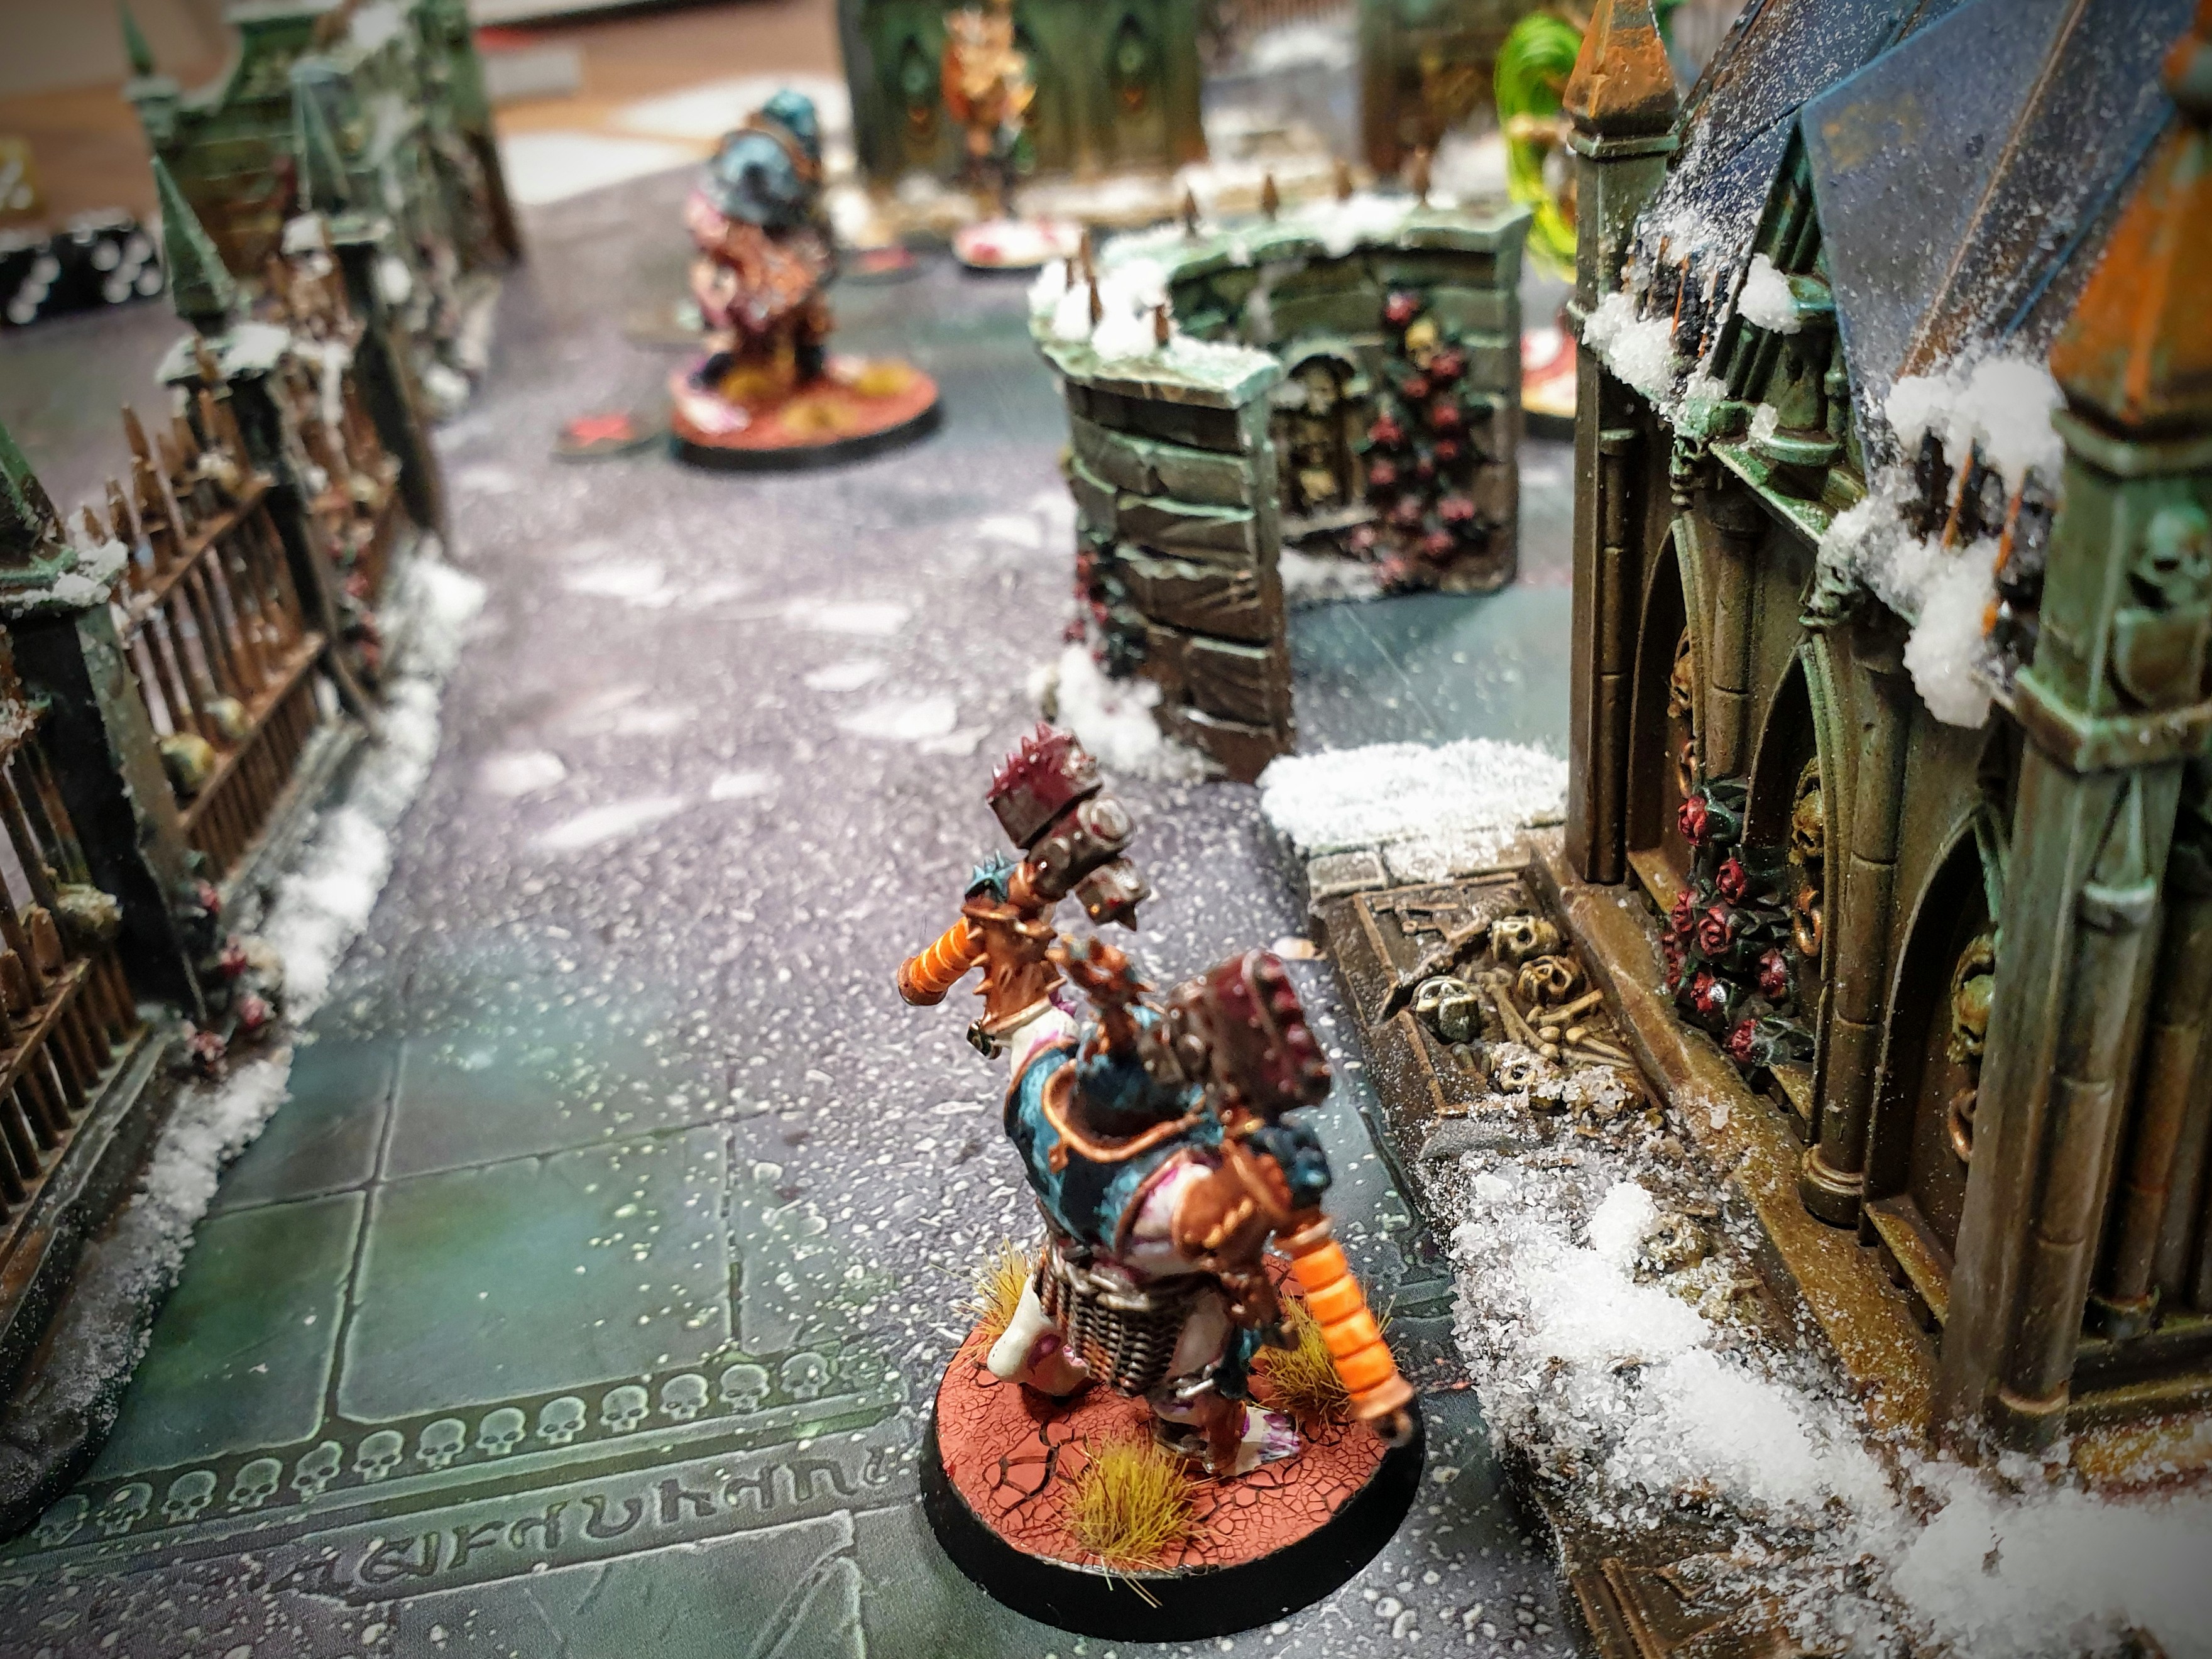
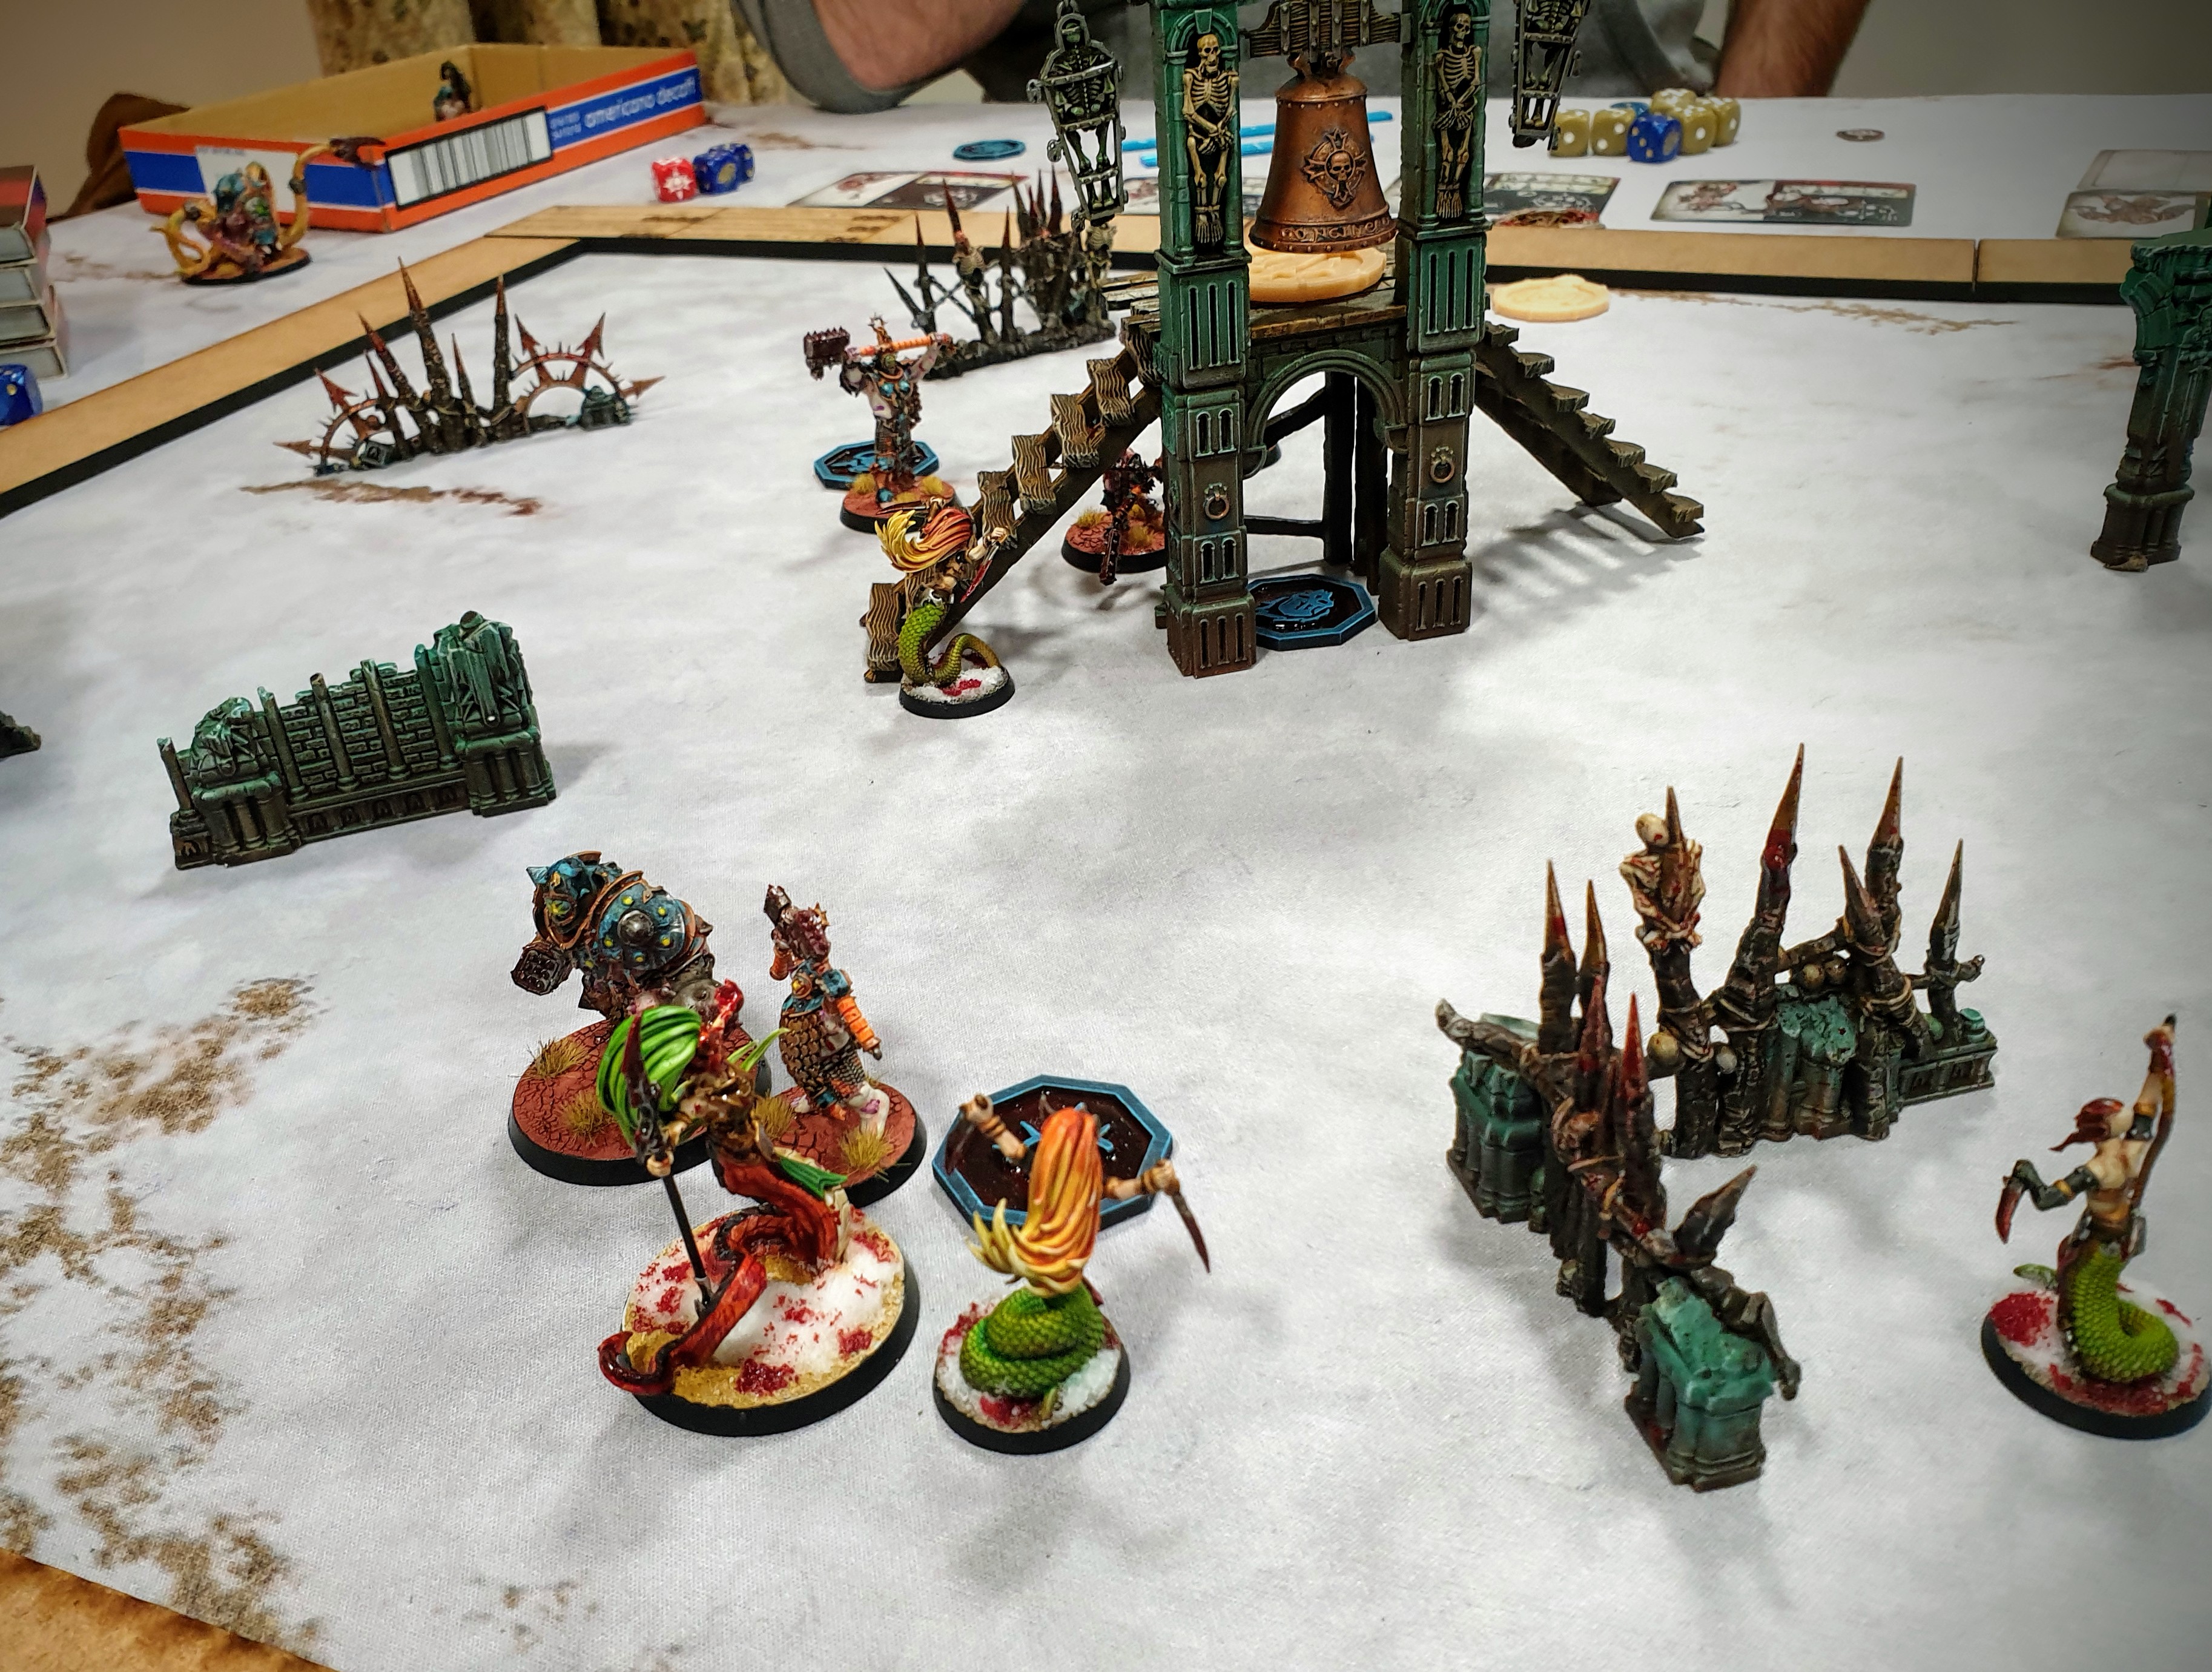
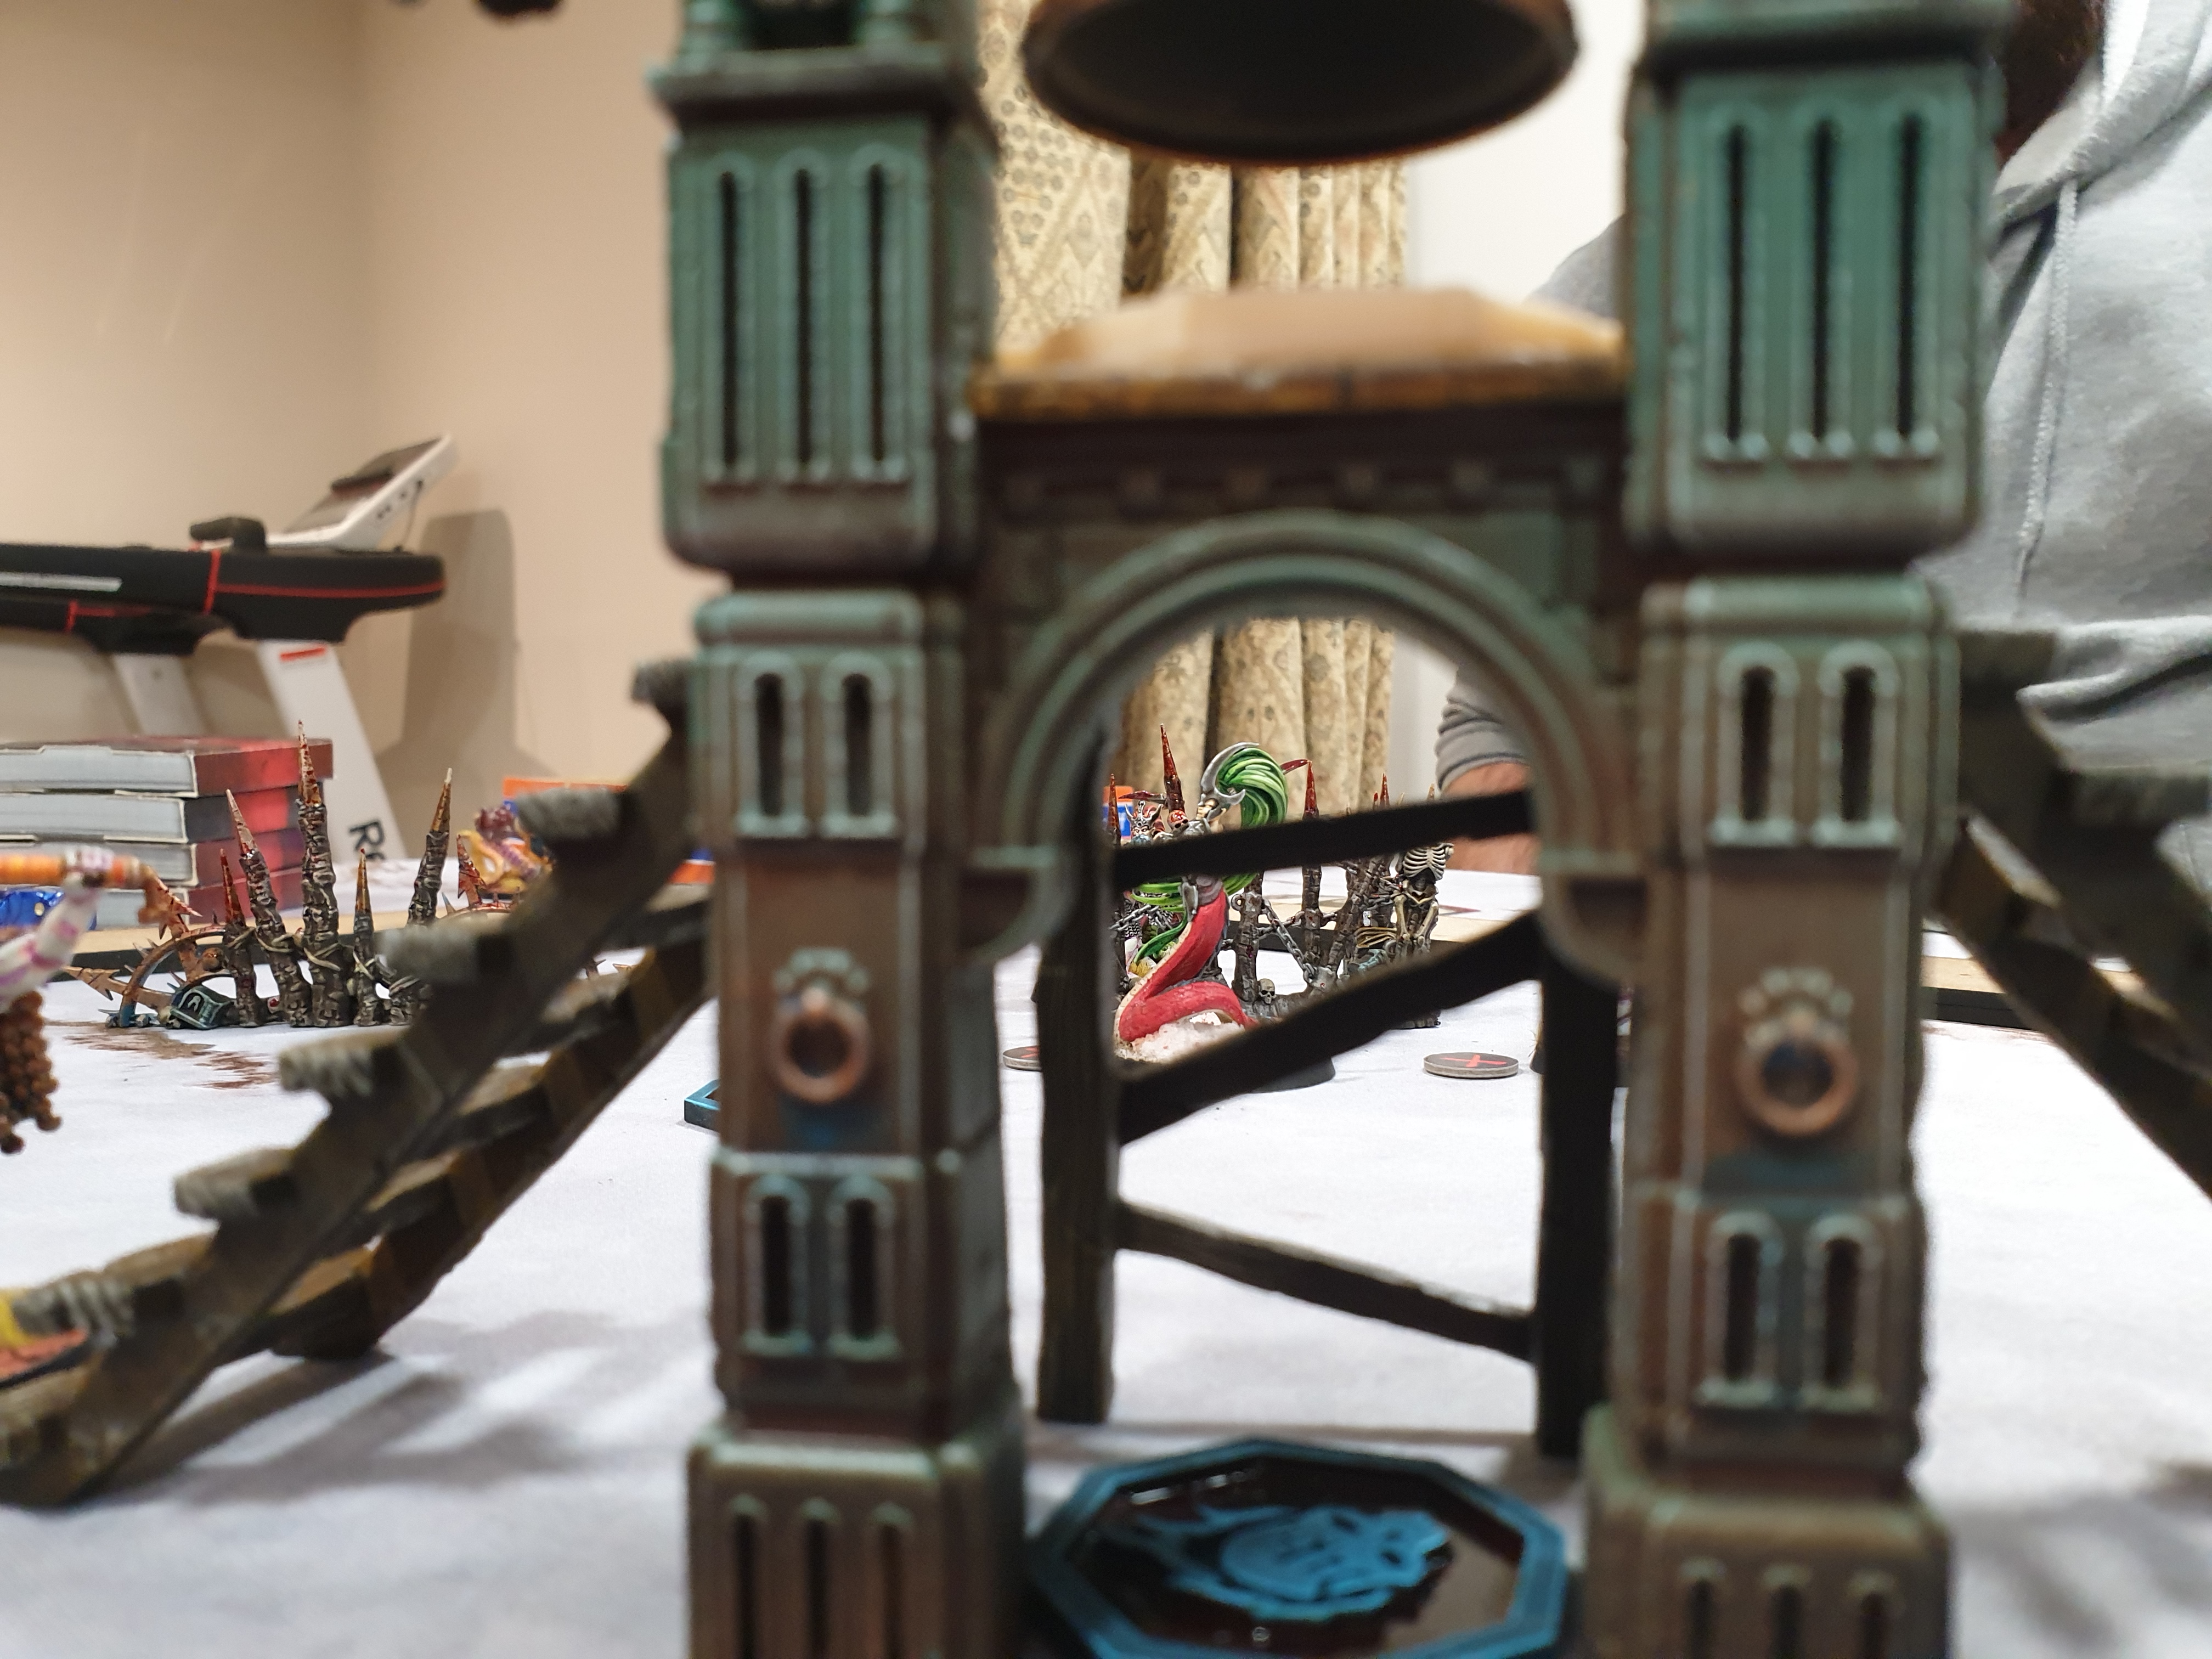
I'm using the bell tower for my example pictures, but I'll mention any stages to hit up details that aren't present on this kit; check out the set photos for reference!
Step 1
My first stage was a simple one. I primed the terrain set black using a spray primer. I used Rustoleum matt black but any decent primer works just fine. Be prepared to use quite a lot though!
I then hit the kit with a zenithal spray from the airbrush using Daler FW white acrylic ink. This ink comes out of the airbrush with no thinners needed and is so smooth and easy to apply! I worked from a mainly upper angle and focused on hitting a lighter top half and concentration of white on the wooden areas. On parts with skulls or bones I spot highlighted them as well. This was a nice quick process. I timed it and I'd done the whole set in less than 15 minutes!

Step 2
Once this was done I quickly cleaned the airbrush out and switched to my brown low light. For this I used liquitex burnt umber ink. Unlike the white, this is much thinner and doesn't have good coverage out of the bottle. I got around this by adding a couple of drops of vallejo air rust brown to the mix. This stabilised the adhesion. It slightly changed the colour as well so I'm planning to experiment with using mixing medium or matt medium as a clear thickening agent.
I focused on the lower half and spraying from a low angle up the kit to catch the underside of the surfaces. The colour tinted the zenithal well, staying really dark in the black areas and popping brighter in the mid-tones.

Step 3
Another 10 minutes or so, and I was ready to apply the oxide green. I had considered using the GW oxide technical paint, and I've previously used that to airbrush nighthaunt minis to great effect, but I wanted a deeper tone. So instead I went with inks again! I made a simple ratio mix of daler ink… two parts turquoise to one part white and one part yellow was the base, then adjust to suit your preferred look. I mixed a decent amount (about twelve drops turquoise to six and six of the other colours) and this was enough to do the entire set. I worked exactly as I had with the white, coming in from above and focusing on the upper half.
Once this stage was complete, the terrain was looking pretty good and I'd been at it less than an hour!

Step 4
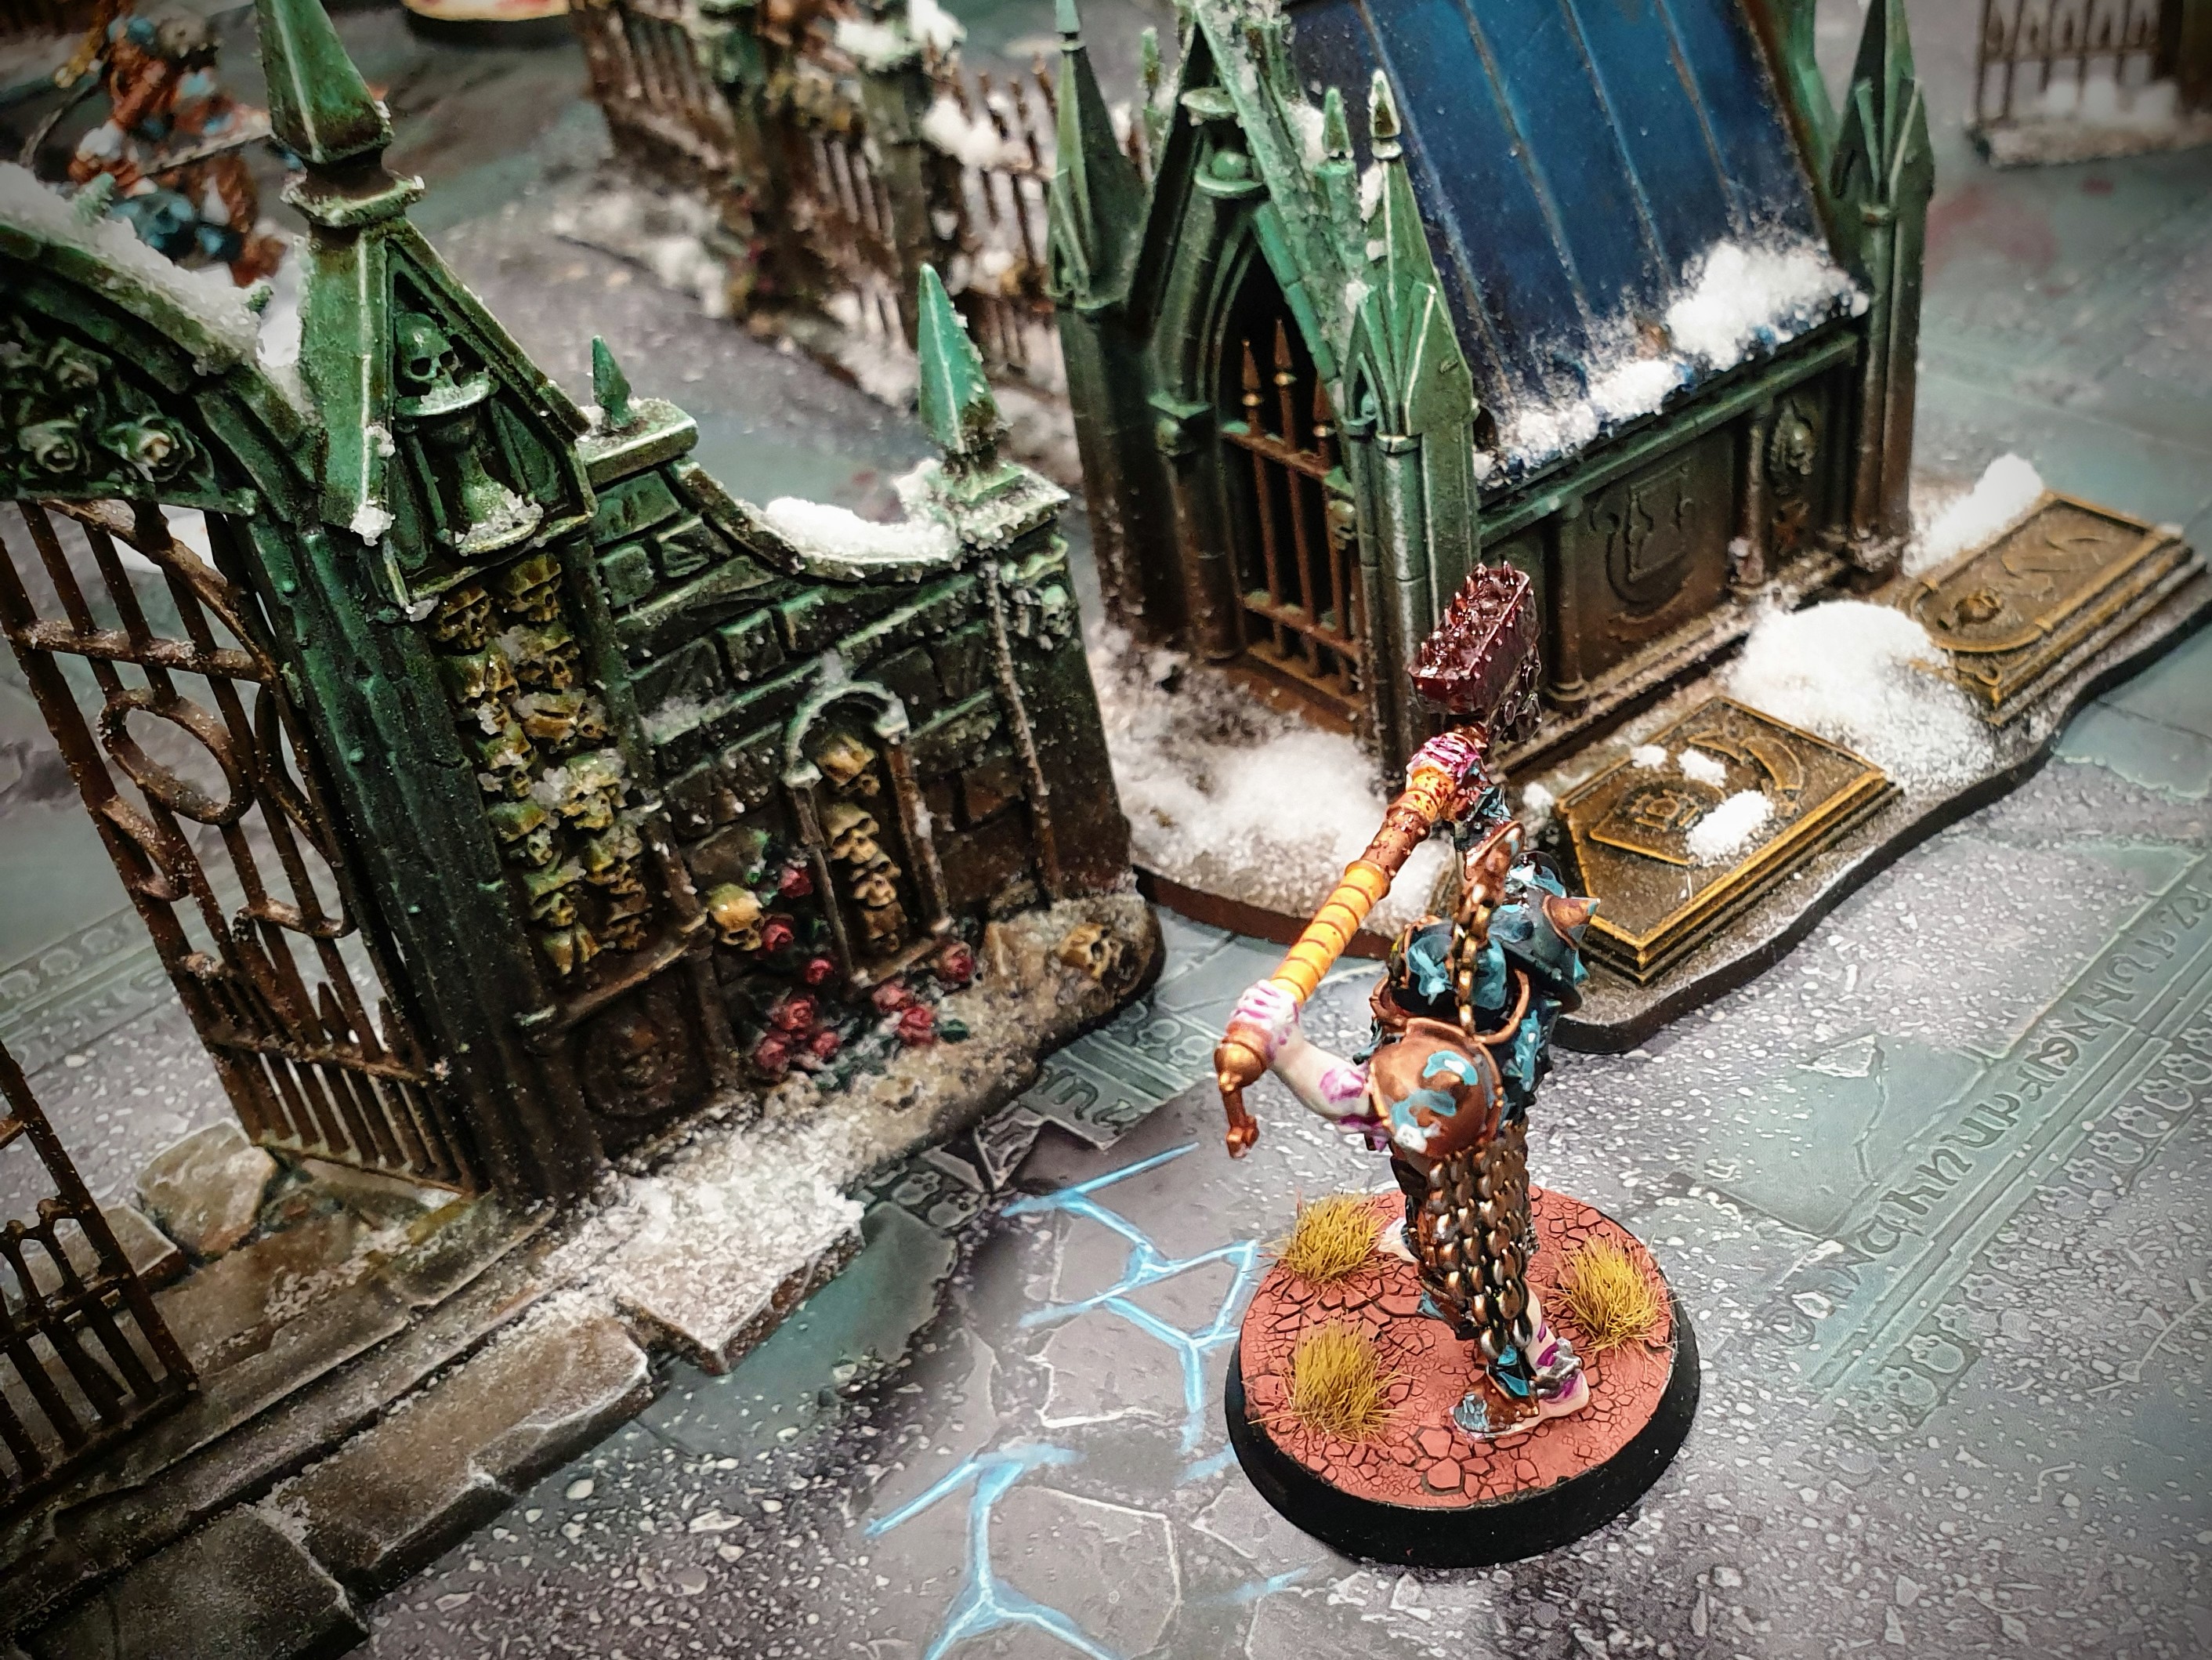
I followed up this stage with my "universal highlight". Because I was working with contrast and washes which would colour tint my model, all I needed to do was establish good value contrast between whites and darker areas. To this end, I used a large drybrush and white paint, and gently drybrushed the entire set, focusing again on upper surfaces, but also detail like skulls and wood grain. I took particular care on the upper facing tiles as this is a focal area for the eye when the terrain is on the table. I used a series D artist opus drybrush, which is a very soft bristle, round brush that produces soft and streak free colour build up… But you can also use round tipped make up brushes, which are cheap, easy to come by and perfect for terrain,

Step 5
With this stage complete, it was time to contrast all the things! I used a limited palette to avoid too much colour clashing. Snakebite leather was my "light" wood and wychwood was my dark wood. I also used skeleton horde on all the bones and ropes. It's a good approach to apply the lightest colour first and work to the darkest last, so I did skulls and ropes, light wood, dark wood in that order.

Step 6
At this point I was almost done but I decided to just pop the contrast on my wood areas with a very light drybrush of a bone (I used GW flayed one flesh but any bone white or light cream would have worked). This also picked out the skull detailing.

Step 7
The only other significant detail on the kit is metals. For the iron nails and brackets I used vallejo gun grey, which is a mid silver, not too bright. For the bronze bell, hoops and grills I applied a turquoise base as a solid colour then used a drybrush to stipple on bronze paint over the top. This left the turquoise showing in crevasses and looked really nice for a fairly easy process.


Step 8
The final stage was the oil wash. I'm new to using oils… In Fact this was my first attempt! To prep, I spray varnished the entire set. I wanted to ensure there was no danger of the oils lifting it disturbing the existing paint, especially as I'd used inks on the model. I don't know for sure this is necessary but I assumed it couldn't hurt! I then mixed a small amount of burnt umber and black in a 2:1 ratio then added a lot of white (about 20:1 or more) spirit, aiming for a runny wash. The white spirit has a fraction of the surface tension of water, that it runs beautifully over the details and into the recesses in a way water based colours simply don't behave.
Another advantage of the oil was that it stayed a bit workable for a long time. The following morning I was able to gently brush my thumb over the tops of the tiling on the platforms of my buildings and "polish off" any residue leaving just the colour in the cracks. This gave a subtle additional shadow which I'm really happy with.
I finally finished off with a second layer of spray varnish to lock down the oil wash and called it a job done! Using these techniques I'd painted the set in two evenings and a morning of varnish spraying! This was a decent amount of time to invest for the results in my view and I was jazzed about using the same methods in some actual minis… In fact, I may blog about my "untamed beast 10 models in one sitting" speed paint very soon
I hope that this has been useful and there's some good info to pick out. Until next time!
